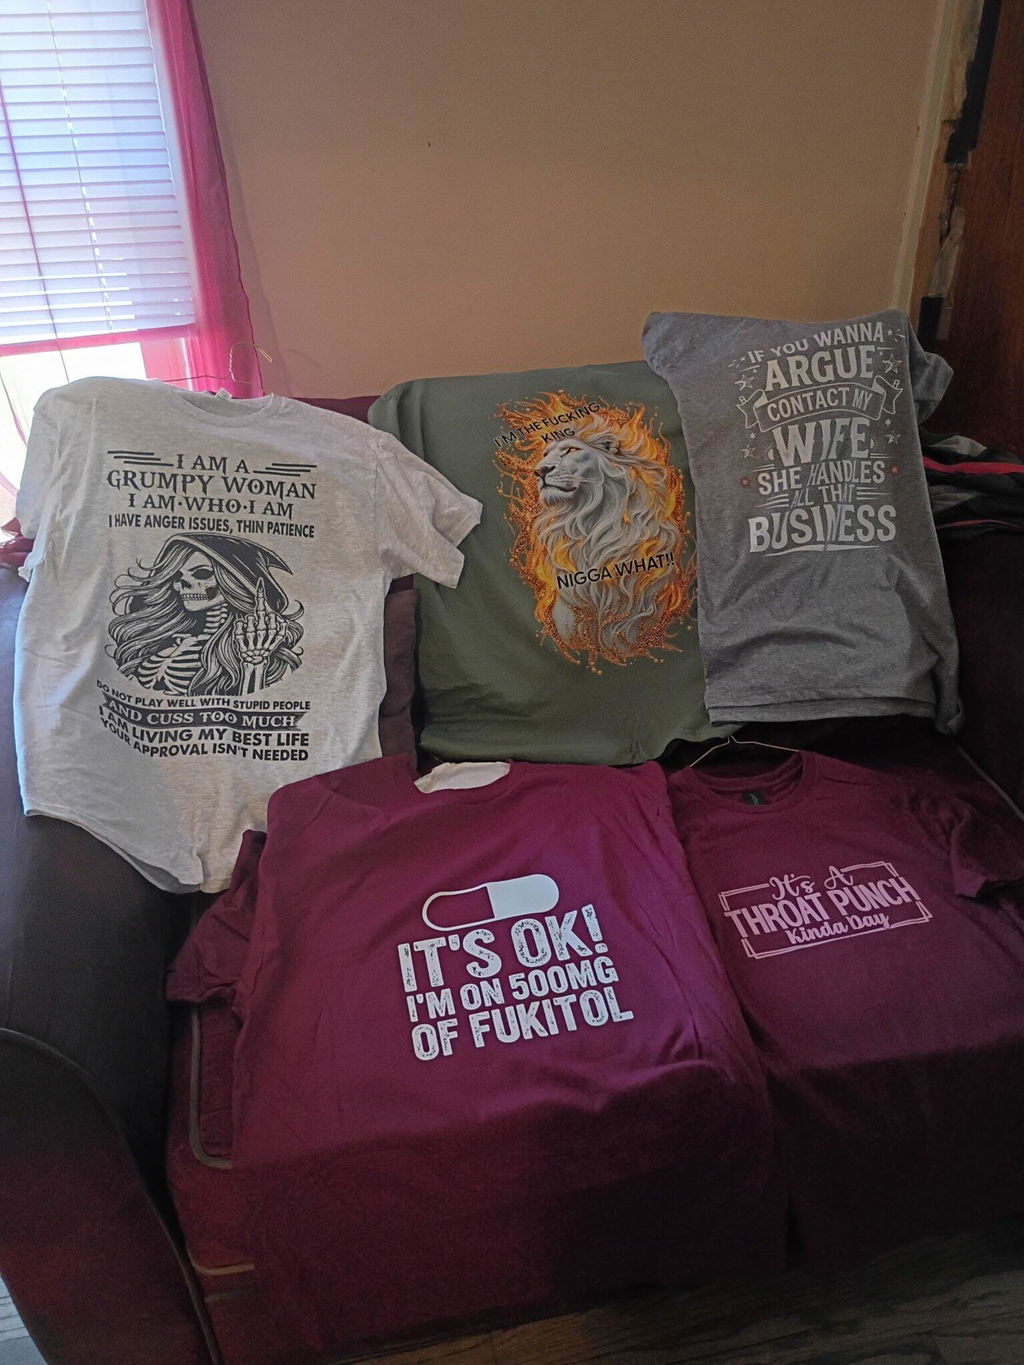


I love Sam's. I have ordered many times and always happy with my designs. I just placed two more orders! Fast shipping and great customer service.❤️❤️❤️
How to Press DTF Transfers
Learn how to apply Sam’s DTF Transfers using the right heat press settings, pressure, and hot peel process for smooth, durable, and professional results.
For best results, use a professional heat press and always test your first transfer before pressing a large order.
Recommended DTF Heat Press Settings
For the best results, we recommend using a professional heat press when applying DTF transfers. A heat press provides consistent temperature and even pressure, helping the transfer bond properly to the fabric.
Temperature
Use this temperature range for most cotton, cotton-blend, and standard apparel applications.
Press Time
Press long enough for the adhesive to bond, but avoid overpressing the design.
Pressure
Medium, even pressure helps the transfer adhere smoothly across the full design.
Peel Method
Peel the film immediately after pressing while the transfer is still hot.
| Setting | Recommendation | Why It Matters |
|---|---|---|
| Temperature | 310°F | Helps activate the adhesive and bond the transfer to the garment. |
| Press Time | 7–10 seconds | Provides enough time for proper adhesion without overpressing. |
| Pressure | Medium pressure | Ensures the design bonds evenly across the full print area. |
| Pre-press | 2–5 seconds | Removes moisture and wrinkles before applying the transfer. |
| Peel Type | Hot peel | Film can be peeled immediately after pressing while still hot. |
| Final Press | 3–5 seconds | Helps improve durability and creates a smoother finish. |
| Cover Sheet | Teflon or parchment paper | Protects the design during the optional final press. |
Watch Our DTF Heat Press Tutorial
See how to place, press, hot peel, and finish your DTF transfer using a professional heat press. This quick tutorial is helpful if you are pressing DTF transfers for the first time or want to make sure you are following the correct process.
More on temperature settings and application:
Place the Transfer
Position your DTF transfer on the garment and make sure the design is straight before pressing.
Press with Even Pressure
Use 310°F, medium pressure, and press for 7–10 seconds for best results.
Peel While Hot
Peel the film immediately after pressing using a smooth, steady motion.
How to Apply DTF Transfers Step by Step
Follow these simple steps to apply your DTF transfer with a heat press. This method is recommended for the best durability, smooth finish, and consistent results.
Pre-Press the Garment
Before placing the transfer, press the blank garment for 2–5 seconds. This helps remove moisture, wrinkles, and uneven surface areas that may affect adhesion.
Position the DTF Transfer
Place the DTF transfer on the garment in the desired location. The design should face up, and the film should remain on top during pressing.
Press the Transfer
Press the transfer at 310°F for 7–10 seconds using medium pressure. Close the heat press straight down so pressure is applied evenly.
Hot Peel the Film
Immediately after pressing, peel the film while it is still hot. Peel smoothly and steadily from one corner without stopping halfway.
Final Press
After peeling, cover the design with a Teflon sheet or parchment paper and press again for 3–5 seconds. This helps improve durability and creates a smoother finish.
Quick Pressing Summary
Heat Press vs Cricut EasyPress vs Home Iron
Different tools can be used to apply DTF transfers, but they do not all provide the same level of consistency. For the best results, we recommend using a professional heat press.

Using a Heat Press
A heat press is the most reliable option for applying DTF transfers. It provides consistent temperature, even pressure, and a flat pressing surface, making it ideal for professional and repeat production.

Using a Cricut EasyPress
A Cricut EasyPress can be used for smaller projects and home pressing. It gives more control than a standard iron, but pressure may not be as consistent as a professional heat press.

Using a Home Iron
A home iron can work for small personal projects, but it is not recommended for the most consistent DTF results. Irons do not provide even heat or steady pressure across the full design.
DTF Heat Press Troubleshooting Tips
If your DTF transfer is not pressing correctly, the issue is usually related to temperature, pressure, time, moisture, or uneven heat. Use this guide to fix common pressing problems.
Transfer Is Not Sticking
Film Does Not Peel Smoothly
Edges Are Lifting
Design Looks Dull
Moisture Marks on the Shirt
Fabric Scorches or Press Marks Appear
Print Feels Too Thick
Design Cracks After Washing
How to Wash Shirts with DTF Transfers
Proper wash care helps your DTF transfer stay bright, smooth, and durable. Follow these simple care instructions after pressing your garment.
Recommended Wash Care
For best results, wait at least 24 hours before the first wash. This gives the transfer time to fully settle into the garment.
Allow the transfer to fully bond before the first wash.
This helps protect the design during the wash cycle.
Cold water helps preserve color and print durability.
Avoid harsh chemicals that may affect the print.
Low heat is better for long-lasting results.
Do
- Wash inside out
- Use cold water
- Use gentle cycle
- Use mild detergent
- Dry on low heat
Do Not
- Do not use bleach
- Do not use fabric softener
- Do not dry on high heat
- Do not iron directly on the print
- Do not dry clean
Frequently Asked Questions About DTF Heat Pressing
Find quick answers to the most common questions about DTF heat press temperature, time, pressure, hot peel, and wash care.
Everything You Need
to Press & Profit
Find the right solution for your custom printing needs — from single designs to bulk orders.
DTF Transfers
By Size
-
Custom SizesPrint single designs in exact dimensions
-
Buy More, Save MoreEarn Automatic discounts up to 55%
-
PersonalizationRequest edits or size tweaks for your design
-
No MinimumsOrder just one or as many as you need
Build Your
Gang Sheet
-
Free Online BuilderNo design tools needed
-
Most EconomicalAdd multiple designs to one sheet
-
Easy & FunctionalAuto-alignment for clean layout
-
Bulk Order FriendlyPerfect for batching or saving material
Upload Ready
Gang Sheet
-
Best for Ready TemplatesPre-made sheets in PNG, PDF, or AI
-
Your Way, Your FilePerfect for Canva or Illustrator users
-
Batch FriendlyUpload large orders all at once
-
Print-Ready RequiredMust be transparent & 300 DPI
Print UV DTF
Stickers
-
UV-Stable InksMaximum color retention
-
Weather-Resistant FinishIdeal for indoor & outdoor
-
Custom Die-Cut DesignsAny shape, any size
-
Premium AdhesiveNever will lift or curl over time