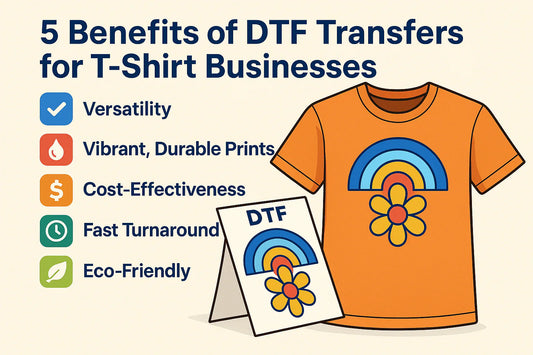
Direct to Film (DTF) transfers have revolutionized the custom apparel industry. They offer high-quality, vibrant prints on a variety of materials.
But to get the best results, you need the right equipment. A heat press is essential in the DTF transfer process.
Choosing the right heat press for DTF transfers can be a daunting task. There are many factors to consider, such as temperature settings, pressure, and time.
This guide will provide you with step-by-step instructions on how to use a heat press for DTF transfers. We'll cover everything from preparing your DTF transfer to evaluating the final product.
Whether you're a small business owner, a hobbyist, or a DIY enthusiast, this guide will help you master the art of DTF heat pressing.
So, let's dive in and learn how to use a heat press for DTF transfers like a pro.
Understanding DTF Transfers and Heat Press Basics
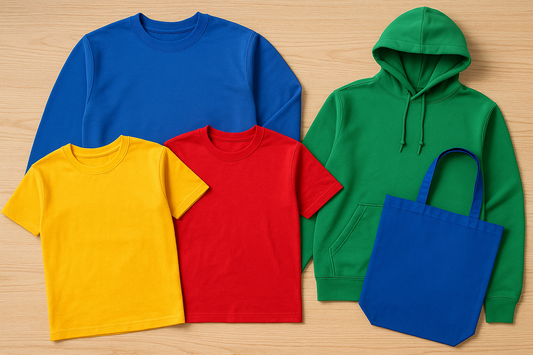
DTF transfers involve printing designs onto a special film. This film is then heat pressed onto the fabric. This method allows for vivid colors and detailed images on various materials, including cotton and polyester.
A heat press is a machine that applies heat and pressure to transfer your design from the film onto the substrate. The temperature, pressure, and duration need to be precisely controlled. These parameters ensure the print adheres properly without damaging the fabric. Understanding these basics is crucial for achieving professional-quality results in your DTF projects.
Selecting the Best Heat Press for DTF Transfers
Choosing the right heat press is crucial for successful DTF transfers. The press you select can greatly affect the quality of your prints. Important factors include size, temperature range, and even pressure distribution. These aspects ensure that each transfer is consistent and high in quality.
When selecting a heat press, think about the size of your projects. A larger press is useful for big designs. However, for smaller, intricate details, a compact model may suffice. Ensure the heat press reaches the right temperature range and can maintain it consistently.
A few key features to consider in a heat press for DTF transfers are:
-
Adjustable temperature and pressure settings
-
Even heat distribution across the platen
-
Digital controls for precision
-
A sturdy build for frequent use
Investing in the best heat press for DTF transfers will support your business's success by delivering outstanding final products.
Preparing Your DTF Transfer for Pressing
Preparation is key to achieving quality results in DTF transfers. Start by ensuring your DTF transfer paper is clean and free from dust. This minimizes imperfections during the pressing process. Carefully cut away any excess material around your design to fit it precisely onto your substrate.
Next, position the transfer paper onto your chosen fabric or item. Use an alignment tool if available to achieve perfect placement. Be sure the design is facing correctly to avoid any backward prints. Proper alignment will lead to professional-looking results every time.
Setting Up Your Heat Press: Temperature, Pressure, and Time
Getting the settings right is crucial for DTF heat pressing. Start with your heat press temperature settings. For DTF transfers, the ideal temperature often ranges between 290°F and 310°F. This range ensures the ink bonds correctly with the fabric.
Pressure is the next important factor to consider. Too much pressure can damage your DTF transfer, while too little can lead to weak adhesion. Adjust the pressure knob until you reach medium pressure. A simple test with a scrap piece will help fine-tune this setting.
Time is equally vital for a successful press. Most DTF transfers require around 7 to 10 seconds. This duration allows enough heat to activate the adhesive without overcooking the ink. Different materials might need slight adjustments, so be sure to experiment.
Here's a quick reference:
Test these settings before a large run to prevent waste. Combining these factors correctly ensures crisp, durable, and high-quality DTF prints every time.
Step-by-Step Guide to Pressing DTF Transfers
Start by preheating your heat press to the correct temperature. While it heats, position your garment on the pressing area to ensure it's flat and free of wrinkles. This step prevents any imperfections during the transfer process.
Next, lay the DTF transfer paper ink-side down on the fabric. Proper alignment is crucial, so take your time adjusting it to avoid skewed designs. Use guides or markings for precision if necessary.
Once everything is aligned, lower the heat press and apply pressure for the recommended duration. Carefully lift the press and allow the garment to cool slightly before peeling away the transfer film. Gently peel the film from the corner to ensure the design has adhered fully. This technique minimizes errors and produces vibrant, professional-looking designs. With practice, your DTF transfers will look sharp and detailed, impressing customers every time.
Troubleshooting Common DTF Heat Press Issues
Encountering issues during DTF transfers is not uncommon, but most problems have simple solutions. If the design isn't transferring well, first check your temperature settings. Incorrect heat can lead to incomplete transfers or faded prints.
Another common issue is inconsistent pressure, which can leave patches of untransferred ink. Adjust the pressure settings on your heat press to ensure even contact across the substrate. If the image appears distorted, it might be due to improper alignment of the DTF transfer paper. Double-check the positioning before pressing to maintain sharp, accurate designs.
Maintenance and Safety Tips for Your Heat Press
Proper maintenance of your heat press ensures it performs efficiently for every DTF transfer. Regularly clean the platen to remove ink residues and dust. Lubricate moving parts according to the manufacturer's instructions to prevent wear and tear.
Safety is paramount when using any heat press. Always turn off and unplug the machine when it's not in use or during cleaning. Use heat-resistant gloves to avoid burns, especially when adjusting settings or handling freshly pressed materials. Adhering to these maintenance and safety practices will prolong your machine's life and guarantee smooth operation.
Evaluating and Finishing Your DTF Transfer
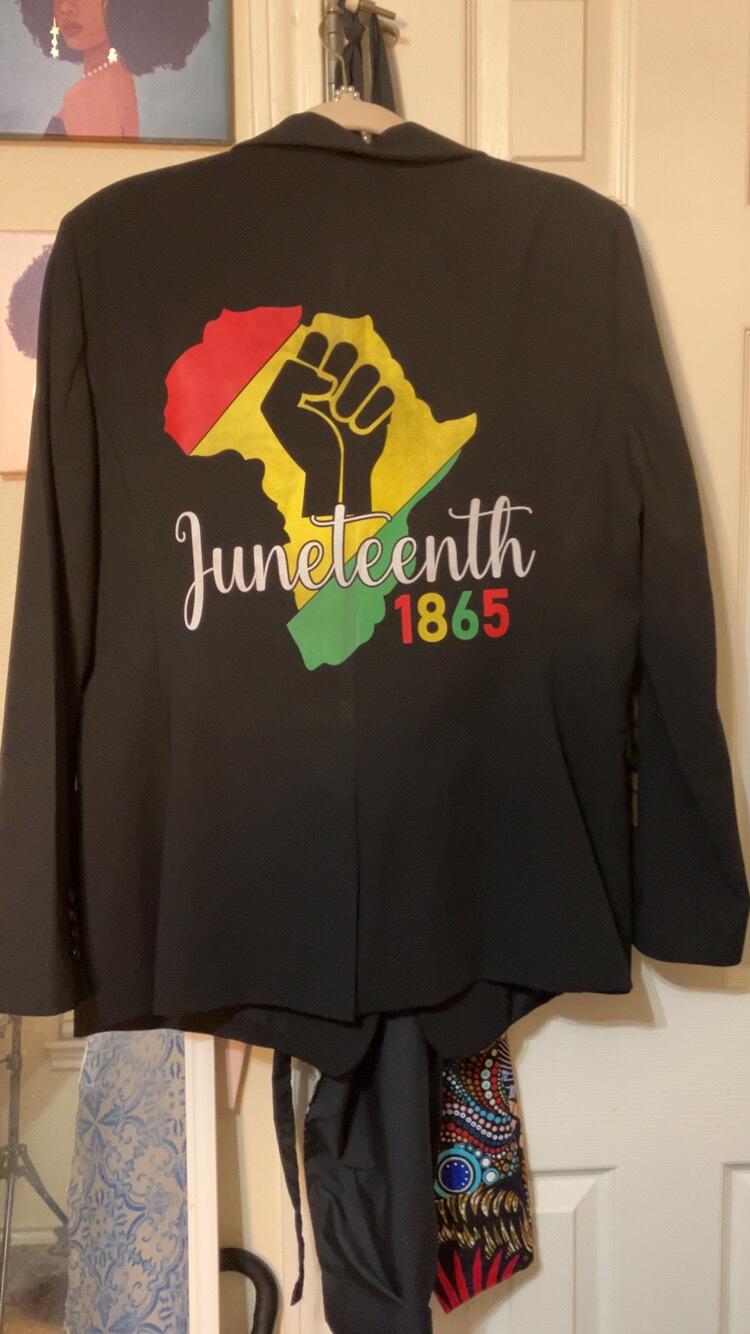
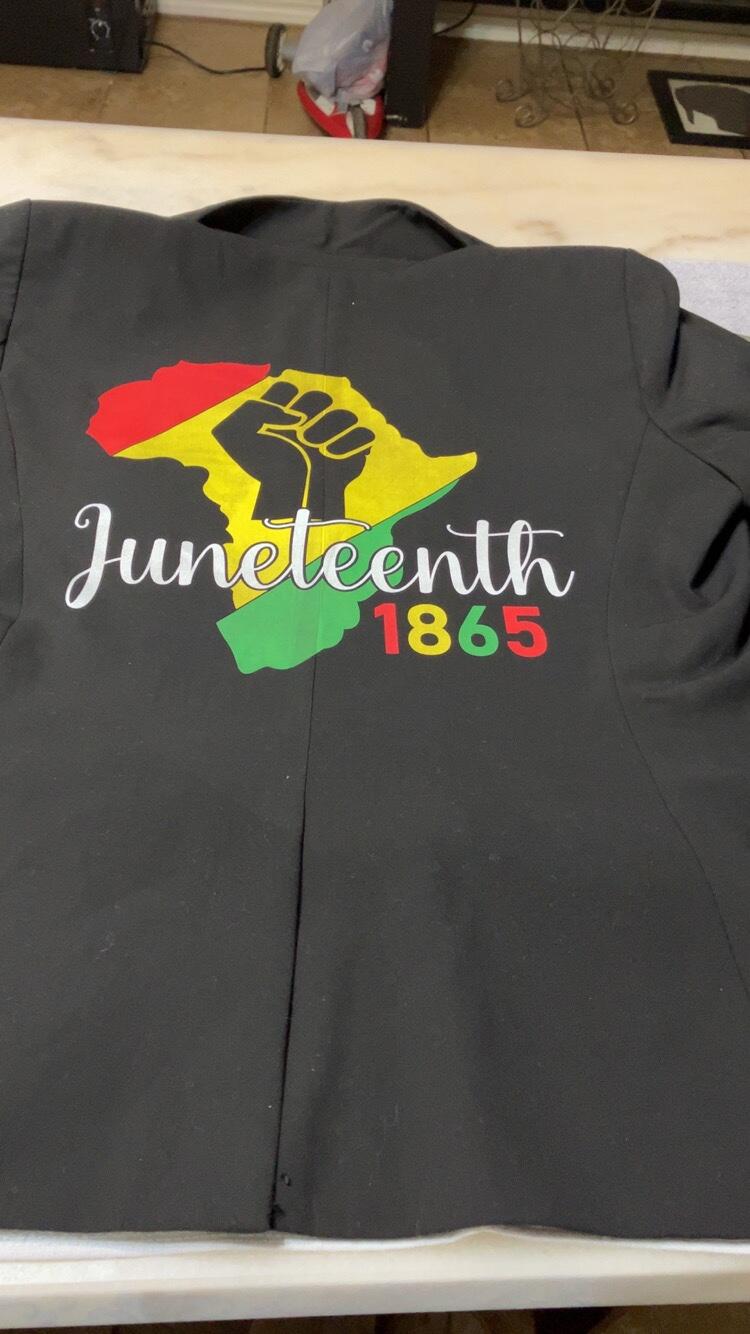
After pressing, carefully peel the DTF transfer film at a consistent speed to avoid any damage. This step is crucial for ensuring a clean and professional finish. Let the garment cool slightly before handling to preserve the transfer's quality.
Evaluate the pressed design by inspecting the edges and colors. It should show vibrant and sharp details without any missed spots. If the transfer isn't satisfactory, review your heat press settings for potential adjustments next time. Once you're happy with the result, enjoy your custom apparel, knowing your efforts have paid off.
Conclusion: Mastering the Art of DTF Heat Pressing
Mastering DTF heat pressing takes practice and patience. With the right tools and techniques, you can create stunning custom apparel. Remember, each step, from preparation to evaluation, is key to success. Continue experimenting and refining your skills to achieve professional-quality results every time.
Ready to Press Like a Pro? We’ve Got You Covered.
Whether you're just starting out or perfecting your workflow, Sam’s DTF Transfers makes it easy to get pro-level results. From ready-to-press transfers to custom gang sheets, we offer vibrant prints, reliable film, and same-day printing.
🔥 Learn more from our Heat Press Guide:
👉 DTF Heat Press Instructions
🎥 Prefer a video?
👉 Watch our How to Apply DTF Transfers Video Tutorial
🛒 Order DTF Transfers Now – Ready to Press


0 comments