This tutorial will guide you How to Apply DTF Transfers with Iron step by step. We'll cover everything from preparing your garment to ironing the transfer and caring for your newly customized item.
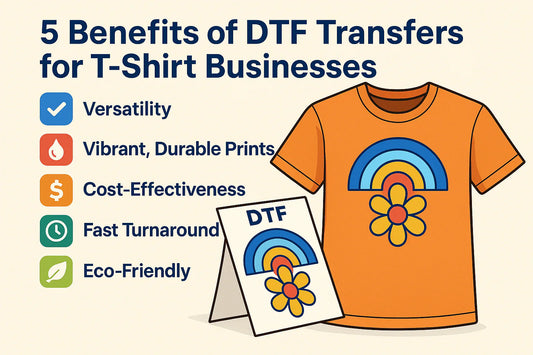
Direct to Film (DTF) transfers are a popular method for customizing garments. They offer a flexible and durable way to add designs to your clothing.
But did you know you can apply DTF transfers at home using a regular iron?
Whether you're a DIY enthusiast or a small business owner, this guide will empower you to create professional-looking DTF transfers with just an iron. Let's get started!
Understanding DTF Transfers
DTF, short for Direct to Film, is a printing technique gaining popularity. This process involves printing designs onto a specialized film. Once printed, this film transfers the design onto fabric, offering vibrant results.
Unlike other methods, DTF doesn't require expensive equipment. It's accessible to hobbyists and small businesses, making garment customization simple. Using a regular iron means you can achieve professional results at home.
The process is straightforward but requires attention to detail. Understanding the basics ensures a successful transfer. The film used in DTF transfers has two sides: one matte and one clear. The clear side is adhesive and should face the fabric during application. This method provides high-quality designs with durability, perfect for personalizing clothing with ease.
Before starting your DTF transfer project, gather all necessary materials. Having everything prepared ensures a smooth process. Below, you'll find a list of essential items.
Here’s what you’ll need:
- DTF transfer film
- Regular iron
- Heat-resistant surface
- Parchment paper or Teflon sheet
- Clean garment
- Scissors for trimming excess film
Ensuring high-quality tools and materials can significantly impact the outcome. Pay attention to the condition of your iron and the garment for best results. Proper preparation will make the process seamless and rewarding.
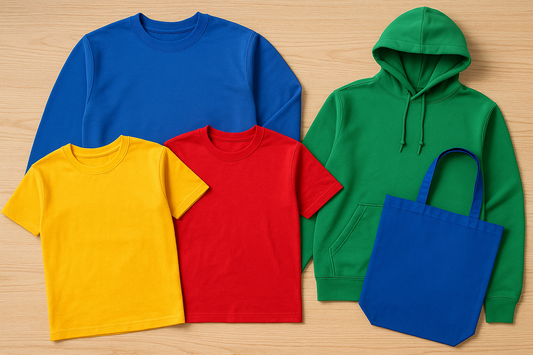
Preparing Your Garment for DTF Transfer
Begin by ensuring your garment is clean and dry. Stains or moisture can affect the transfer’s effectiveness. Give it a fresh wash if needed.
Next, make sure your garment is wrinkle-free. Iron out any creases or folds. A smooth surface allows for better adhesion of the DTF transfer.
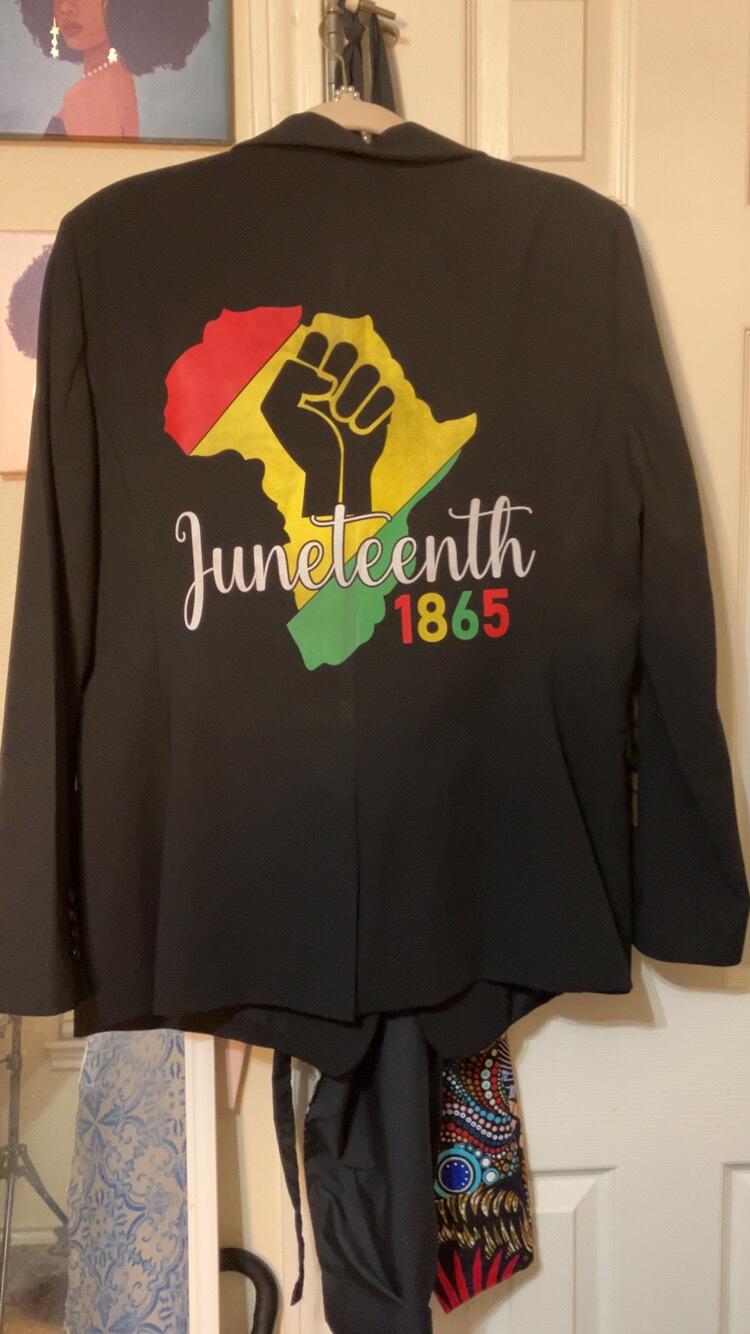
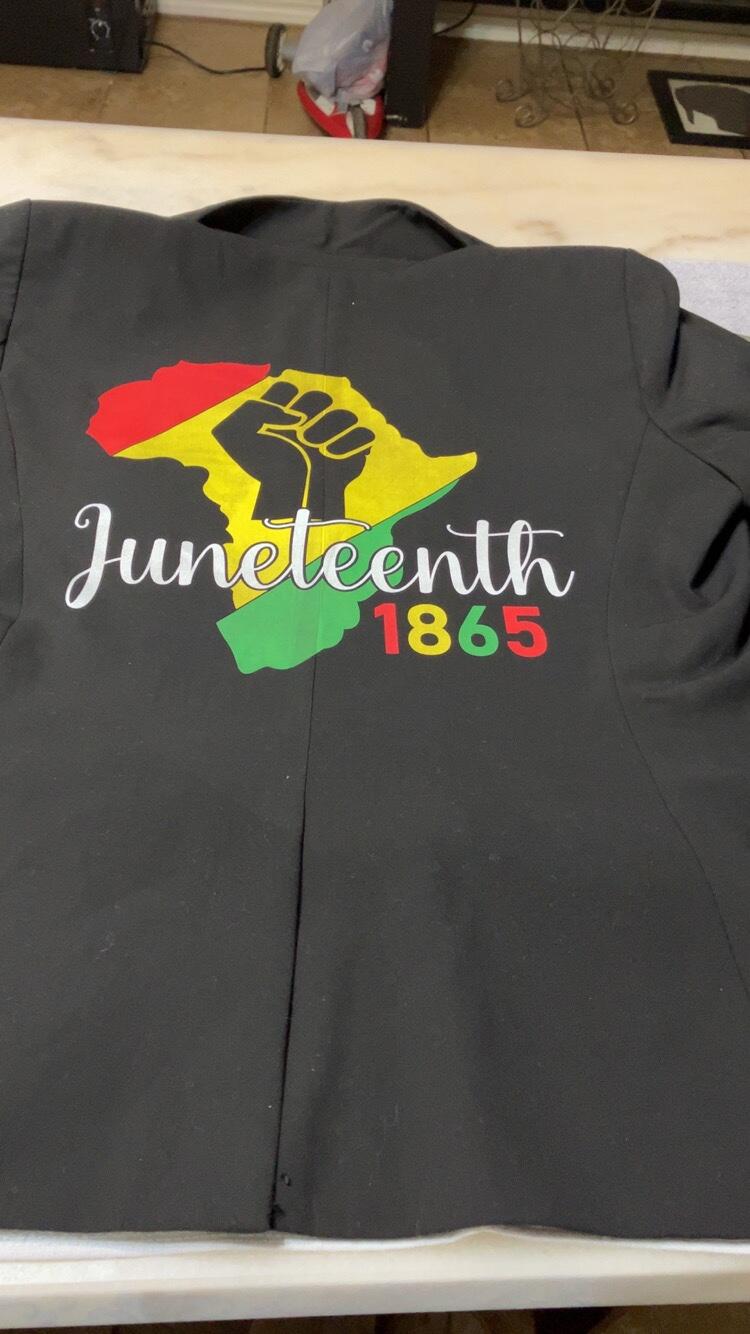
Finally, decide on the position for your design on the garment. Double-check that it looks centered and aligned. Proper placement is key to achieving a polished final look. Taking your time with this step can enhance the overall appearance of your project.
Step-by-Step Guide to Applying DTF Transfers with an Iron
Applying DTF transfers with an iron can be simple if you follow each step carefully. This DIY method allows you to customize your garments at home without investing in expensive equipment.
First, gather all the necessary materials, including the DTF transfer, garment, regular iron, and a protective sheet like parchment paper. Keep everything within arm's reach to streamline the process.
Ensure your work area is stable and heat-resistant. It’s crucial for both safety and effectiveness when using a hot iron. You’ll thank yourself later for having a well-arranged setup.
Before beginning, confirm that your design is printed correctly on the DTF transfer film. The image should be on the matte side, while the adhesive is on the clear side.
Double-check your garment’s surface for any last-minute issues. Smooth out wrinkles once again if necessary to ensure a clean canvas.
Next, let’s go over the importance of each step. From preheating the iron to applying pressure during the ironing process, each detail matters for a successful transfer.
You’ll want to preheat your iron to its highest setting, but remember to turn off the steam function. Steam can interfere with the adhesive properties of the transfer.
With your iron ready, accurately position the DTF transfer on the garment. Align the design with your previously planned placement.
Once everything is set, proceed to iron the transfer carefully. Firm, even pressure is essential in this process.
After ironing, allow the garment to cool before peeling off the film. This step is vital to prevent any mishaps.
Finally, peel back the film slowly to reveal your design. If any parts aren’t attached properly, simply re-cover and iron those sections.
Step 1: Preheat Your Iron
Begin by plugging in your iron and setting it to the highest temperature. Be sure to turn off the steam function completely. Steam can disrupt the transfer's adhesion.
Allow the iron to fully heat. This can take a few minutes. When ready, it should reach an optimal temperature for transferring, ensuring best results in the upcoming steps.
Step 2: Position the Transfer
Next, position your DTF transfer film on the prepared garment. Ensure the clear adhesive side is facing down onto the fabric.
Carefully align your design as desired. A misplaced transfer can affect the final appearance, so double-check positioning for precision.
Step 3: Iron the Transfer
Lay a protective parchment paper or Teflon sheet over your transfer. This shields the design from direct heat, preserving print quality.
Then, place the iron firmly on the transfer. Apply steady, even pressure without moving the iron side-to-side. Keep the iron in place for about 15 to 30 seconds per section.
Repeat this process for each section of the transfer. Ensuring full coverage is crucial for complete and even adhesion.
Step 4: Peel and Finish
After ironing, allow the garment to cool slightly. This helps set the transfer and reduces the risk of mishaps during peeling.
Carefully start peeling the film from one corner. Do this slowly to ensure the entire design has adhered properly.
If any areas didn't stick, reapply the protective sheet and iron again. This additional step can fix minor issues, ensuring a flawless finish.
Tips for a Successful DTF Transfer with Iron
Achieving great results with DTF transfers requires attention to detail. Simple measures can make a big difference in the final outcome.
Begin with a smooth, wrinkle-free surface. Iron your garment beforehand to ensure it is completely flat, guaranteeing even transfer.
Keep these additional tips in mind:
- Always follow the specific instructions from your DTF transfer's manufacturer.
- Test your technique on a scrap fabric first.
- Avoid using an ironing board with too much padding as it can hinder pressure.
Experiment and refine your method, enhancing your confidence and creativity with each project.
Troubleshooting Common DTF Transfer Issues
Even with precision, issues can arise during the DTF transfer process. An incomplete transfer might occur if the iron's temperature is too low or pressure is uneven.
If the transfer shifts, it could be because the iron moved during the pressing. Be sure to apply firm pressure and avoid sliding motions.
Peeling problems often indicate insufficient time or heat. If a section hasn't adhered, reapply the iron with a protective sheet. Patience and adjustments can address these common problems, ensuring a successful and lasting transfer.
Caring for Your DTF Transfer Garment
Proper care extends the life of your DTF transfer garments. Always turn the garment inside out before washing to protect the design.
Avoid harsh detergents like bleach or fabric softeners, as these can weaken the transfer. Washing on a gentle cycle and air-drying are best to maintain the design's vibrancy and integrity.
FAQs on DTF Transfers with Iron
For those new to DTF transfers, some questions often arise. These frequently asked questions address common concerns and guide successful application. Understanding these aspects can make your DIY projects smoother and more enjoyable. Let's dive into a few of these essential inquiries.
Can you use any iron for DTF transfers?
Most irons work as long as they offer high heat settings. Ensure your iron can maintain a steady high temperature without steam.
How long should I iron the DTF transfer?
Typically, iron each section for 15-30 seconds. Ensure even pressure is applied for the best results.
What fabrics work best with DTF transfers?
Cotton and polyester blends are optimal. They provide a smooth surface for the transfer to adhere effectively.
Conclusion: Unleash Your Creativity with DTF Transfers
With DTF transfers, the possibilities for customization are truly endless. This technique empowers you to bring your creative visions to life effortlessly.
Don't hesitate to experiment with colors and designs. Transform your garments into unique pieces with personal touches. Enjoy the process and explore new creative horizons.


0 comments