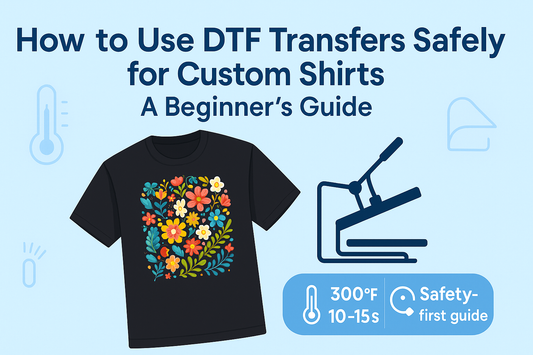
How to Use DTF Transfers for Beginners: A Safe and Easy Guide to Custom Shirts
Matt Hayes
0 comments
What Are DTF Transfers? A Friendly Introduction for Beginner
DTF transfers for beginners are revolutionizing the way crafters and small business owners customize apparel. DTF, or Direct-to-Film, lets you achieve full-color, high-quality, and durable designs on shirts of any color—including dark fabrics—without the restrictions of vinyl or sublimation. If you love personalizing T-shirts but want a safer, simpler, and more vibrant result, DTF transfers are the answer!
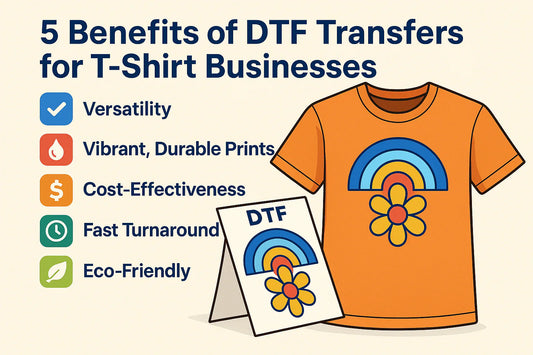
Why Choose DTF Transfers? Pros and Cons Compared
Before diving into the process, let's look at why DTF transfers are a great choice for beginners—especially those using Cricut, Silhouette, or running small Etsy shops:
No dye limits: DTF prints all colors—even white—so your designs truly pop, even on black and dark shirts.
Not just for pros: You can order custom DTF transfers online and apply them at home, skipping risky DIY methods.
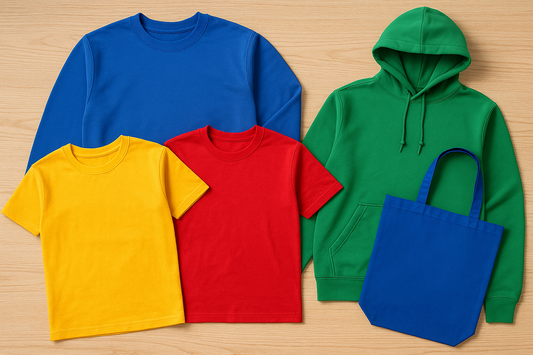
Works on all fabrics: Unlike sublimation, DTF works on cotton, blends, polyester, and any T-shirt color.
Easy to use: Just a heat press and a little prep—no complex layering, trimming, or mirroring needed.
Detailed designs: Extra-fine details, gradients, and vivid images transfer beautifully with DTF.
Of course, DTF has a few considerations:
Durability: While DTF lasts long with care, it's not as embedded as sublimation and can eventually fade or crack.
Care needed: Proper washing and drying are essential to maximize the print's lifespan.
The Safe Way: Ordering Custom DTF Transfers for Beginners
DIY DTF at home can be hazardous due to the fine adhesive powder and ink involved, posing health and equipment risks. But beginners can still enjoy amazing results—safely—by ordering pre-made custom DTF transfers online. Here’s how:
Prepare your design: Make sure your artwork is high-resolution (PNG, SVG, or JPEG) with crisp edges. Avoid drop shadows on dark shirts.
Determine transfer size: Measure your shirt’s print area. Use guides like the ones at Complete DTF Transfer Size & Placement Guide for recommended sizing—e.g., 10x12 inches for adult medium.
Order your transfer: Upload your design to a reputable site like Sam's DTF Transfers. Adjust sizing as needed and order extra for backups!
Check your print when it arrives: Inspect carefully. Do not bend or crease the film. Trim with about 1/4-inch margin around the design.
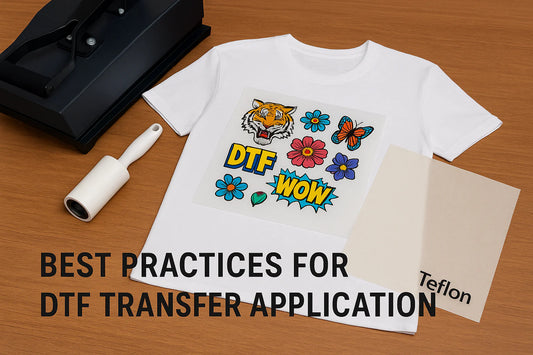
How to Apply DTF Transfers at Home: Step-by-Step Tutorial
Prep your shirt: Fold it vertically and lightly heat-press to mark the center and remove moisture/wrinkles. Lint-roll for a clean surface.
Position your transfer: Use the pressed crease and ruler guide to center your design. Place transfer (design up, white adhesive side down).
Cover with parchment paper: Parchment is best for letting heat through—avoid butcher paper.
Press the transfer: Apply medium to high pressure for 10 seconds at 290-310°F (150°C) for cotton; adjust down for polyester. Large designs can be pressed in sections with overlapping edges.
Let it cool: Don’t rush! Cool-peeling the carrier sheet gives the best, longest-lasting bond. If needed, repress and cool again before peeling.
Final press (important!): Cover with fresh parchment and press again for 10 seconds. This sets the transfer into the fabric for durability.
Expert Tips for Perfect DTF Transfers
Order an extra transfer for practice or in case of mistakes—DTF prints store well for up to 12 months in a cool, dry spot.
If the transfer lifts during peeling, repress and cool completely.
Use images with sharp outlines and minimal tiny, separate elements for best results.
Try sleeve decals and mix-and-match accent designs for unique, professional-looking shirts.
DTF Transfer Care: Keep Your Custom Shirts Looking New
Avoid bleach, harsh detergents, and ironing directly on the transfer.
Level Up Your Crafting: Resources for DTF Transfers for Beginners
If you crave more advanced projects, like sleeve accent designs and money-saving transfer tips, check out community resources and guided programs like Jennifer Maker’s Advance Membership. These offer exclusive templates, challenges, step-by-step tutorials, and a vibrant support network for beginners and pros alike.
Conclusion: Ready to Try DTF Transfers for Beginners?
DTF transfers for beginners open up a colorful world of custom shirt design—without complicated techniques or safety worries. By ordering high-quality transfers, following the right steps, and caring for your creations, you’ll confidently craft apparel that stands out and lasts. Download free shirt designs, use helpful rulers for sizing, and join supportive crafting communities to grow your skills. Don’t wait—unlock the vibrant power of DTF transfers for your next project today, and craft a life you love!
{"layoutMobile":2,"layoutDesktop":3,"buttonAlign":"Center","buttonText":"Buy now","productTitle":{"hue":213,"brightness":0.83,"saturation":1},"priceColor":{"hue":0,"saturation":1,"brightness":0},"discountPrice":{"hue":356,"saturation":0.74,"brightness":1},"buttonColor":{"hue":213,"brightness":0.83,"saturation":1},"textBottomColor":{"hue":0,"saturation":0,"brightness":1},"activeTitleButton":true,"moreProduct":"View all","moreProductUrl":"samsdtftransfers.com","rowNumber":1,"dynamicProductId":[{"id":"gid://shopify/Product/7714121089179","title":"DTF Transfers By Size","currencyCode":"USD","amountMax":"11.0","amountMin":"0.3","price":"0.30","compareAtPrice":"1.00","imagesUrl":"https://cdn.shopify.com/s/files/1/0314/2375/8471/files/dtf-transfers-by-size-pp.webp?v=1748860590&width=600","urlStore":"/products/dtf-transfers-by-size","altImage":""},{"id":"gid://shopify/Product/8522199564443","title":"New DTF Gang Sheet Builder","currencyCode":"USD","amountMax":"88.8","amountMin":"6.55","price":"6.55","compareAtPrice":"8.19","imagesUrl":"https://cdn.shopify.com/s/files/1/0314/2375/8471/files/dtf_gang_sheet_builder_transparent.png?v=1750077699&width=600","urlStore":"/products/new-dtf-gang-sheet-builder","altImage":""},{"id":"gid://shopify/Product/8651877613723","title":"New UV DTF Gang Sheet Builder","currencyCode":"USD","amountMax":"180.0","amountMin":"9.49","price":"9.49","compareAtPrice":null,"imagesUrl":"https://cdn.shopify.com/s/files/1/0314/2375/8471/files/UV-DTF-Stickers-GANG-SHEET-BUILDER.webp?v=1748604080&width=600","urlStore":"/products/new-uv-dtf-gang-sheet-builder","altImage":"UV DTF Sticker Gang Sheet Builder"}],"typeSearch":"product","device":"desktop","decimalsPrice":2,"aspectRatio":"1 / 1","isAutoPlay":false,"isNavigation":false,"isPriceDisplay":false,"rowDynamic":"mot","activeDecimals":false,"positionPrice":false,"currencyCodeCustom":"$","cssContent":"","componentId":"undefined","activeDynamicProd":true,"hidden":false,"locked":false,"blockName":"Product"}
Product was just as ordered. Great colors ! Thanks
Thank you, Debbie! We’re happy your DTF gang sheet printed exactly as ordered and the colors popped. Count on high quality DTF prints, fast delivery, and a reliable DTF printer with best price DTF value whenever you need more.”
Appreciate you, Charles! Glad the DTF transfers by size were spot on. We’ll keep delivering high quality DTF prints with fast delivery from a reliable DTF printer—and always aiming for best price DTF
Thank you, Susan! Thrilled to hear your DTF gang sheets were great. We’re here with high quality DTF prints, fast delivery, and a reliable DTF printer experience at the best price DTF—see you next order!
Thank you, Brittany! We’re glad the DTF gang sheet builder worked well for you. Count on high quality DTF prints, fast delivery, and a reliable DTF printer with best price DTF value whenever you need more.
Thanks so much, Nichole! Happy to hear your DTF transfers by size came out with great color and clarity. We’ll keep delivering high quality DTF prints and fast delivery from a reliable DTF printer—always aiming for best price DTF.


0 comments