Direct-To-Film (DTF) printing is gaining popularity among small t-shirt businesses thanks to its versatility and vibrant results. However, common DTF mistakes can easily sabotage your printing projects. Whether you’re just starting or looking to refine your process, understanding these pitfalls will save you time, money, and frustration. Here’s a friendly, practical guide to the most common DTF artwork and printing mistakes—plus actionable tips to avoid them!
Understanding Common DTF Mistakes: Artwork Preparation
Ignoring Image Resolution
One of the most common DTF mistakes is submitting low-resolution artwork. Printing with images at 72 DPI (dots per inch) can result in blurry, pixelated designs that lack detail and crispness. Always provide your artwork at 300 DPI for the sharpest results. If you’re working with a graphic designer, request a vector file (like .AI or .SVG)—these scale perfectly without losing quality. (Learn more about choosing the right resolution for DTF artwork)
- Low-res files create white rings around your designs during printing.
- Vector files ensure clean lines and consistent results, no matter the size.
Another frequent misstep is using file types that don’t support transparency. JPEGs, for example, will embed a background into your design that appears on the final print. For t-shirt artwork, always use PNG, PSD, PDF, AI, or SVG formats, as these maintain transparency and avoid printing unwanted backgrounds.
Forgetting to Outline Custom Fonts
If you use unique fonts in your design, outline (convert to curves/shapes) your text before sending the file. If the DTF provider doesn’t have your font installed, software might automatically replace it with a generic one. This can completely change the look of your design without you noticing. Outlining preserves font style and prevents unexpected substitutions.
Improper Color Profile Settings
Designing in RGB mode is a common DTF mistake. Always work in the CMYK color space, which matches DTF printer requirements. This avoids color shifts and ensures printed colors closely match your screen. Try using the FOGRA 39 color profile for optimal accuracy.
Issues with Gradients, Glows, and Shadows
Gradients and shadow effects don’t always transfer cleanly onto garments, especially dark shirts. DTF printers add a white underbase for these effects, often creating a cloudy or halo effect outside your artwork. For crisp results:
- Stick to solid, well-defined edges on dark garments
- Be cautious with glows and gradient fades—test first, or redesign accordingly
Designing DTF Artwork in Canva (Quick Tips)
If you’re designing in Canva, start with a custom size that matches your final print (for example, 11" wide for a front design) so the width and height fit your project and the print doesn’t come out too small or too large.
Avoid super-bright RGB or neon colors, because DTF prints in CMYK-style tones and those “glowy” colors won’t look as radiant on the shirt as they do on your backlit screen.
When your design is ready, download it as a PNG in the highest quality (300 DPI) with a transparent background. This helps keep edges clean and prevents unwanted boxes around your design. Keep effects simple—skip soft shadows and hazy glows, and use clean shapes or halftone-style fades instead for more reliable printing.
If you’re building a gang sheet in Canva, set your canvas to 22" wide and up to 240" high, arrange your designs with a little space between them, then export again as a transparent PNG at 300 DPI. That way your file matches standard DTF gang sheet sizes and is ready to print without extra adjustments.
Common DTF Mistakes During Application
Ignoring Pressing Instructions
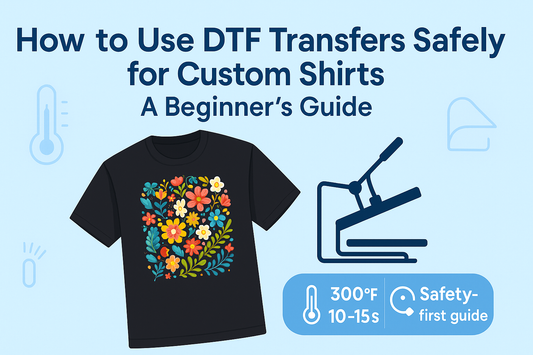
With DTF, time and temperature are everything! Applying too much heat or pressing for too long can ruin your transfer. Most DTF transfers require just seven seconds at 300°F for cotton. For polyester or nylons, try 275°F. Always follow the manufacturer’s guidelines.
Applying Inadequate Pressure
Insufficient pressure during pressing leads to transfers that wrinkle or peel prematurely. The ink needs to bond fully with the fibers. Make sure your heat press exerts firm, even pressure across the garment—especially over seams or collars.
Not Trimming the Color Bar
DTF transfers often arrive on gang sheets with a color test bar along the edge. If you accidentally heat press this color bar onto your shirt, it will stick—and won’t come off! Trim the color bar and separate your transfers cleanly before pressing.
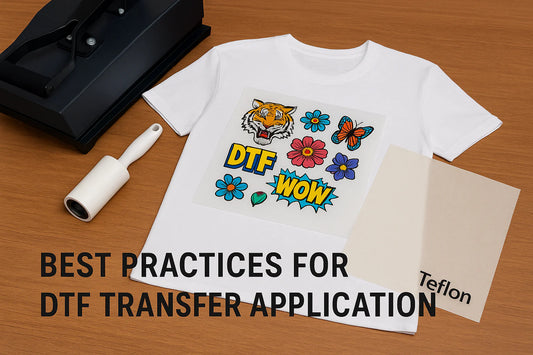
Skipping the Teflon Sheet and Tape
A Teflon sheet protects both your shirt and heat press from sticking or accidental transfer lift-offs. For very small or detailed transfers (like neck tags), use heat-resistant tape to hold pieces securely in place during pressing—this prevents shifting and partial transfers.
Not Using a Heat Press Pillow
If your garment has seams, collars, or isn’t laying completely flat, use a heat press pillow or pad underneath. This avoids scorch marks and ensures even pressure, especially for details like neck labels or sleeve prints. It also prevents those unsightly press lines on finished tees.
Advanced Tips: Avoiding Additional Common DTF Mistakes
Mirroring Artwork Yourself
Some beginners mistakenly mirror their own artwork before printing. Don’t! Most DTF printing companies will handle mirroring for you. If you submit a mirrored file, your final shirt may come out backwards—always send as-is unless your provider requests otherwise.
Not Knocking Out Black for Dark Garments
When printing on black t-shirts, removing dark backgrounds from your artwork is crucial. Failing to “knockout” black parts can result in a visible black box on your shirt. Instead, create transparent backgrounds and let the shirt color show through wherever black is part of your design.
Incorrect Peeling Technique
- Let detailed or all-white transfers cool (about 15 seconds) before peeling for sharper results and fewer lifted edges.
- If you peel too slowly or with inadequate pressure/heat, you risk incomplete transfers.
Improper Storage of Transfers
Transfers are sensitive to heat, moisture, and sunlight. Store extra DTF transfers in a cool, dark place, ideally with silica packets to absorb excess moisture. This preserves print quality for months until you’re ready to use them.
Quick Pre-Print DTF Checklist
Before you send your artwork to print, double-check:
- ✅ Artwork is 300 DPI (or vector) at the exact print size you want
- ✅ File format is PNG, PSD, PDF, AI, or SVG (no unwanted JPEG backgrounds)
- ✅ Fonts are outlined/curved so nothing changes on another computer
- ✅ Colors are chosen with print in mind (avoid neon/glowy RGB expectations)
- ✅ Shadows, glows, and gradients are simplified or turned into clean shapes/halftones
- ✅ If using Canva, you exported as PNG, transparent background, high resolution
- ✅ For gang sheets, the file is 22" wide, up to your needed height, with designs spaced for cutting
Save this checklist and run through it every time—it can prevent a lot of wasted transfers and shirts.
Conclusion: Master DTF Printing by Avoiding Common DTF Mistakes
DTF printing is a powerful tool for small t-shirt businesses, but common DTF mistakes can hurt your brand’s professional image and bottom line. By paying attention to artwork setup, Canva export settings, file formats, pressing techniques, and storage practices, you can dramatically improve your results and reduce reprints.
Implementing these easy fixes will give your prints maximum durability, brightness, and detail—helping your business shine and your customers come back for more.
Ready to put these tips into practice? At Sam’s DTF Transfers, you can upload your ready artwork, build a custom gang sheet, or order DTF transfers by size with fast turnaround and high-quality prints. Whether you’re launching your first t-shirt line or scaling a growing brand, we’re here to help you avoid common DTF mistakes and get pro-level results every time.
If you found this guide helpful, support our journey and subscribe for more practical DTF printing tips. Share your toughest DTF printing challenges in the comments—we’re here to help you succeed!


0 comments