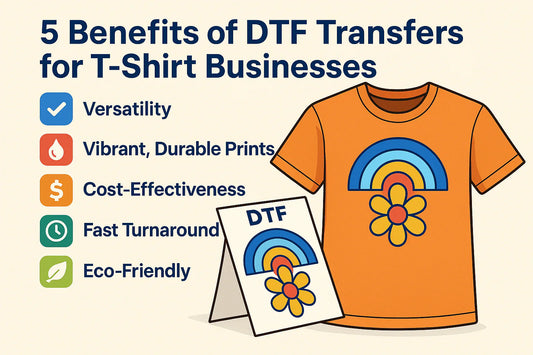
Discovering the world of iron-on transfers opens up a realm of creativity and personalization for your wardrobe. Whether you're looking to add a personal touch to a plain T-shirt or want to create a unique gift, free iron-on transfer designs offer an accessible way to unleash your creativity without breaking the bank.
In this article, we'll explore the different types of free iron-on transfer designs, how to use them effectively, and where to find the best free printable iron-on transfer templates. We'll also share some tips and tricks to ensure your designs are vibrant and long-lasting.
Understanding Iron-On Transfers
Iron-on transfers are designs printed on special transfer paper that can be transferred onto fabric using heat. They are a popular choice for customizing T-shirts, tote bags, and other fabric items because they are easy to use and can create professional-looking results at home.
Types of Iron-On Transfers
There are several types of iron-on transfers, each offering unique benefits. Understanding the differences can help you choose the right type for your project:
-
Sublimation Transfers: While a bit more complex, sublimation transfers provide high-quality results that are both washable and durable. However, they require a sublimation printer and are generally used on polyester fabrics.
Finding Free Printable Iron-On Transfer Templates
There are many resources available online where you can find free printable iron-on transfer templates. These templates vary in style, complexity, and size, making it easy to find something that fits your vision. Here are some excellent sources to explore:
Steps to Create Your Own Iron-On Transfers
Creating your own iron-on transfers can be a fun and rewarding experience. Here's a step-by-step guide to get you started:
Step 1: Select Your Design
Choose a design that reflects your personal style or the theme of your project. Consider the size of the design and how it will fit on your chosen fabric item.
Step 2: Print Your Design
Once you have selected a design, print it onto your transfer paper. Make sure to follow the instructions provided with your transfer paper to ensure the best results. If your design includes text, remember to mirror the image before printing so that it reads correctly when transferred.
Step 3: Prepare Your Fabric
Wash and dry your fabric item to remove any sizing or chemicals that might interfere with the transfer process. Iron the fabric to ensure it is smooth and free of wrinkles.
Step 4: Transfer the Design
Preheat your iron to the temperature specified in the transfer paper instructions. Place the transfer paper design-side down on the fabric and apply the iron, using firm pressure. Move the iron in a circular motion to ensure even heat distribution.
Step 5: Peel and Set
Allow the transfer to cool slightly before carefully peeling away the backing paper. To set the design, place a clean sheet of paper or cloth over it and iron again for a few seconds.
Tips for Successful Iron-On Transfers
Creative Ideas for Iron-On Transfers
Iron-on transfers are incredibly versatile and can be used for a wide range of projects:
-
Personalized Gifts: Create custom T-shirts, bags, or aprons for friends and family. Personalize them with names, dates, or special messages.
By exploring the world of free iron-on transfer designs, you can bring a personal touch to your projects and create unique items that reflect your style and creativity. Whether you’re a crafting newbie or a seasoned DIY enthusiast, iron-on transfers offer endless possibilities for customization and creativity. Get started today and see where your imagination takes you!


