


Sams is by far the best ever! I can call them or email them with questions or concerns and they are always very prompt at getting back to me. Their customer service is amazing and their products are fabulous!
thank you

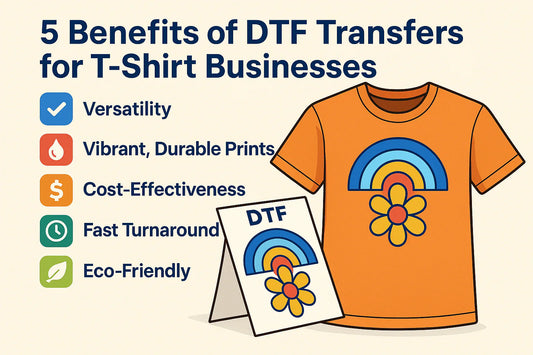
If you're a t-shirt business owner, Etsy seller, or a small apparel brand diving into Direct-to-Film (DTF) printing, you may be asking yourself: Can I create professional, retail-quality DTF designs in Canva? The answer is a confident yes.
Canva Pro unlocks a world of graphics, fonts, and user-friendly design tools that are perfect for beginners and experienced designers alike. In this guide, you’ll learn five key tips for using Canva to produce vibrant, high-quality DTF designs that wow your customers and keep your prints looking sharp.
For DTF transfers, image quality makes all the difference. Most DTF printers and services require designs at 300 DPI (dots per inch) for crisp, professional results. However, Canva does not allow you to set DPI directly. No worries—there’s a solid workaround: design by pixel dimensions.
When starting your Canva project, set the units to pixels and enter these values. This ensures your exported PNG will be the right print quality, giving your DTF designs in Canva a professional edge.
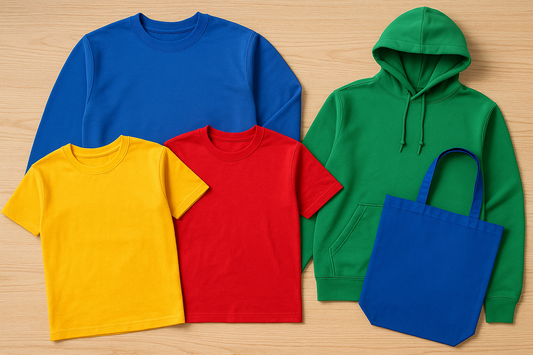
DTF printing is amazing for translating bold, colorful designs onto garments. Canva’s vast selection of images, icons, and fonts gives you endless options, but to maximize results you should design to the strengths of DTF:
Think clean, readable, and vibrant. Keeping these design best practices in mind helps your Canva artwork print sharply on DTF transfers.
DTF prints every color—including white. Accidentally leaving white areas in your design could result in unwanted patches on your garment. A smart trick is to change your Canva background to either a neutral gray or, even better, the actual garment color you’ll be printing on.
This simple step can be the difference between “okay” prints and truly retail-quality DTF designs.
Before sending your art to print, always give it a final review. Check for spelling errors, misplaced elements, and font consistency. A useful trick is to toggle your background color—this can make hidden issues pop out so you can fix them before exporting.
Spending a few extra minutes here can save time, money, and frustration by avoiding misprints.
Now you’re ready to export! For most DTF printers, a high-resolution PNG is recommended. If you’ve set up your design with proper pixel dimensions, simply click Share, choose PNG, and download. If you need to resize at export, use the size slider and enter your target pixel values (width and height) as previously calculated. Make sure both dimensions match your 300 DPI math.
Once you have your DTF design exported from Canva, upload it to your printer software or submit to a service such as Heat Press Nation’s True Print. They’ll handle the rest—delivering retail-quality transfers ready for pressing!
Armed with these essential tips, you’re ready to create vibrant, professional DTF designs in Canva—no advanced design software required. Remember to:
Ready to turn your ideas into eye-catching apparel? Try these techniques on your next batch of DTF transfers.
If you need pro-quality DTF transfer printing, you can upload your Canva designs to Sam’s DTF Transfers for fast turnaround, vibrant prints, and reliable results on every order.
No comments


0 comments